A simple virtual reality 3D design tool made with Unity/C#
11 Jan 2025I recently completed INFO 5340, “Virtual and Augmented Reality”, at Cornell Tech. It was a pretty intense course which was very much focused on constant building week after week - in particular, in the 3D/game development context, with a particular focus on virtual reality. For our final group project, we were tasked with emulating features from a virtual headset 3D design tool, Gravity Sketch. While previous assignments had broken down our tasks into bite-sized pieces, the final project was assigned as-is: watch a video showing how a particular function is supposed to work, and replicate it any way you wish, making sure to respect fidelity to the original product + efficiency. This made the final project especially challenging, as we had to switch hats between product managing (how many features can we implement? what should we do first? who should take which function? is this feature of good quality? are there imperfections or lag? how would a real customer feel using this product?) as well as software engineering (how to efficiently/correctly implement a function? how to structure / refactor code properly? how to handle merge conflicts between different features worked on by different swes? how to catch and squash bugs?).
We were almost completely on our own, and I think this was what made it an especially rewarding experience, since we ultimately developed a pretty good intuition for vector graphics + state management and got pretty good practice in writing C# day in, day out.
Features
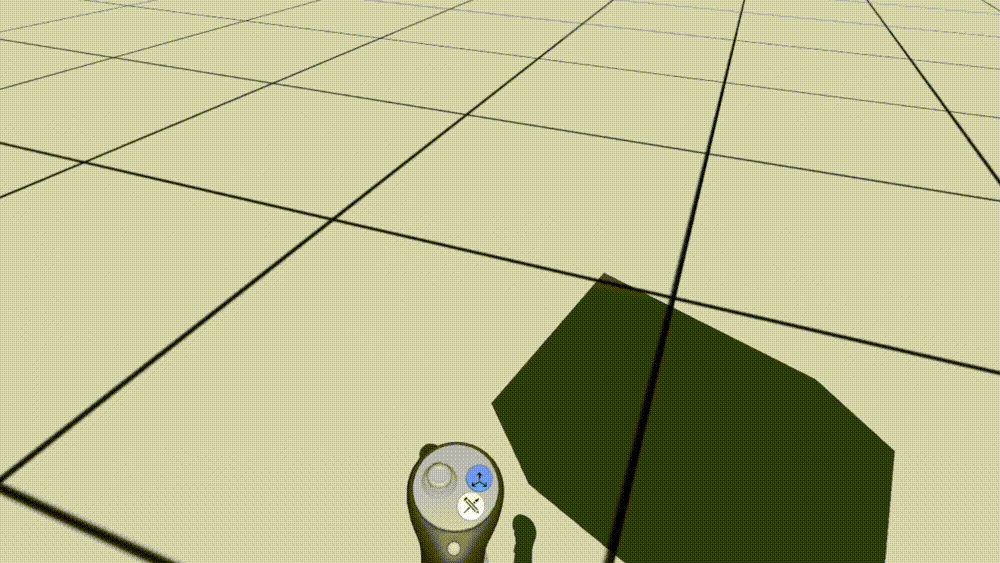
Without further ado, here were some of the features we managed to replicate! The goal with this project was to get the 3D design tool up to the point where it could create a simple car out of primitive shapes.
Multi-select
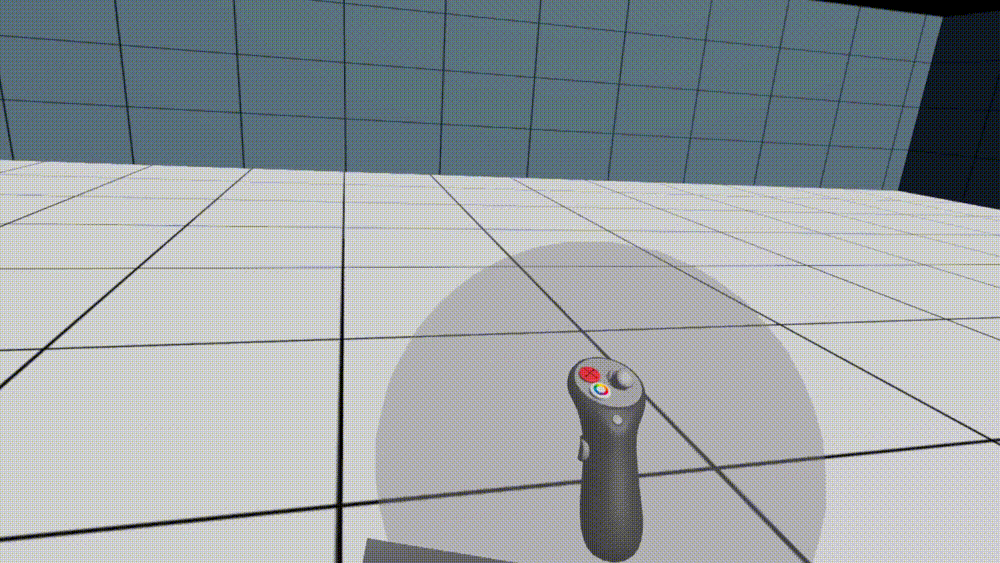
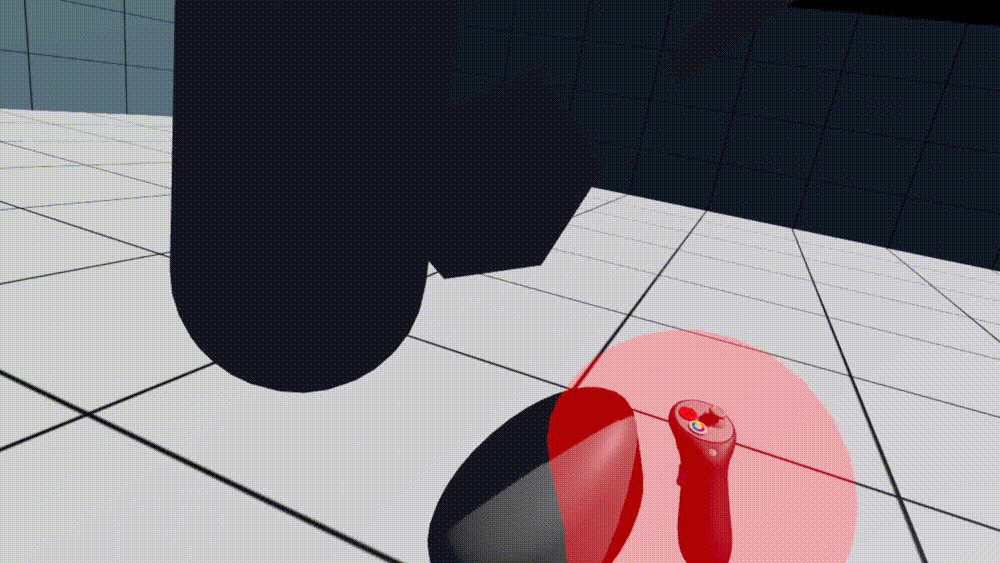
The idea behind this feature is that there is a translucent sphere beside the right controller that would be responsible for grabbing objects. Whenever it intersected with an object, it would shine bright red to indicate that there were relevant grabbable objects. Furthermore, it would also be capable of grabbing multiple objects at a time (all objects that fell within its intersection).
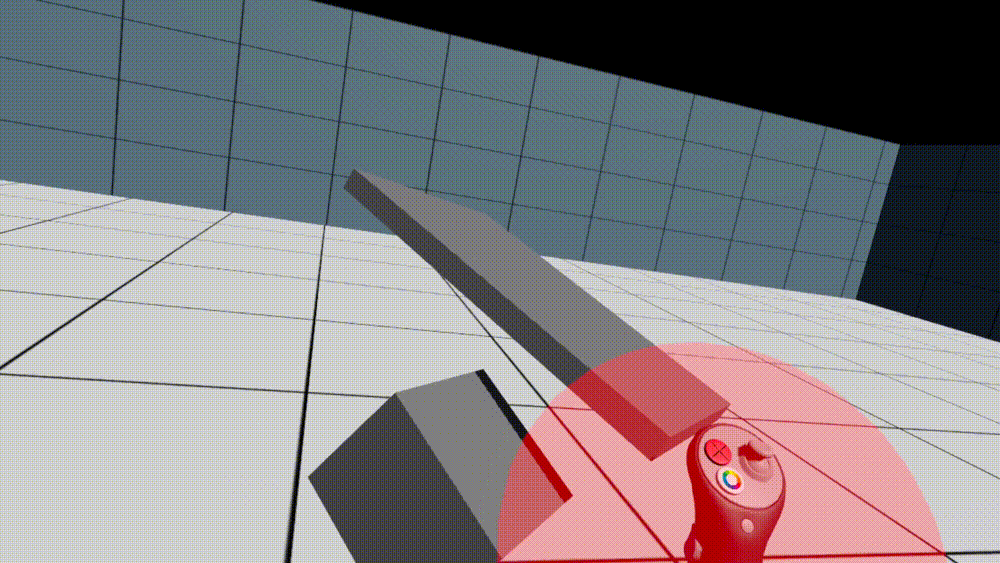
At the same time, you can rescale the grab sphere in order to select as many or as few objects as you’d like.
Create object
By pressing the right grip button, you can create an object. The controllers will track the distance between your left and right controllers, and create an object of the corresponding size.
By pressing both grip buttons, you create an object non-uniformly. That means, the relevant height, width, and depth between your left and right controllers are kept track of in detail, resulting in the ability to create compressed/extended non-standard objects like cuboids or ovoids.
You can also select the shape which you want to create.
Select colour
When selecting an object (or multiple objects), clicking the left secondary button brings up a colour wheel from which users can select from a continuous range of colour. Releasing the button sets the shape to that particular colour.
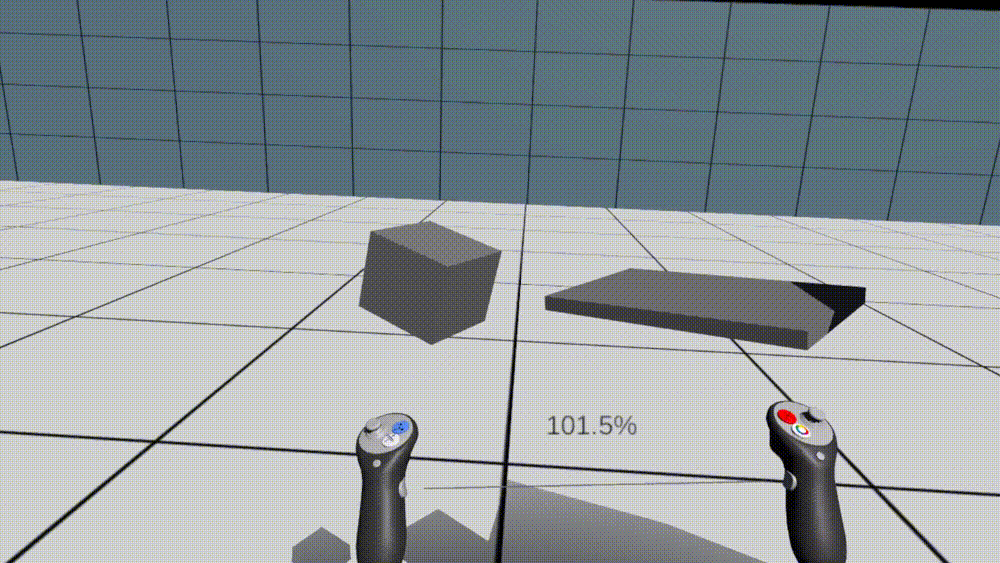
Grab move
“Grab move” is a special function in Gravity Sketch where you can press both trigger buttons simultaneously in order to change the scale, orientation, and position of all created objects. This provides a convenient alternative for designers to “move around” their designs. A helper percentage visual is also provided to provide context as to how much the user has scaled the design up or down.
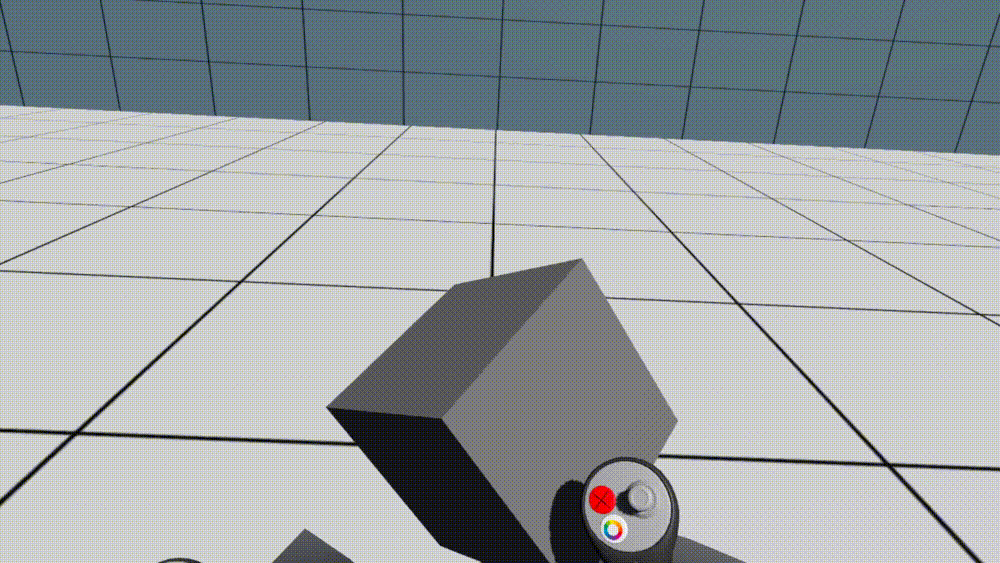
Change object dimension
In this function, you can deform an object along a particular primary axis. Works for different primitive shapes!
Some lessons learnt
1. State management and control flow
Being super clear about your if/else/while statements is really important, as is overall state management. I learnt not to jump straight into coding a particular function, but to observe its functionality carefully and draw up an abstract control flow diagram. Then, write the code modularly, and abstractly state what you would expect your new code to do. If there are divergences, check for bugs, and iterate accordingly.
2. Input moderation
There are multiple functions which clash in terms of input buttons. For example, one function may require the right trigger button, while another may require both trigger buttons simultaneously. How do we make sure both inputs don’t clash? We had to make sure that when one particular state was active, that all other states could not be enabled. Furthermore, it was also a matter of user experience fine-tuning to see what made intuitive sense for when we would enter one function or the other, assuming neither were activated yet.
3. Having a balanced, holistic approach to structuring code is important
It’s incredibly easy to end up writing everything within the same Update() function. It’s also equally easy to split every functionality up into their separate Update() functions, to the point where you’ve lost track of what every other module is doing. Therefore, having a clear, abstracted view of what every module is doing and what elements they are manipulating under what conditions is pretty important, since many unexpected bugs appear from multiple modules manipulating the same element.